Showing posts with label In The Kitchen. Show all posts

Thursday, June 16, 2011

In The Kitchen-Slow Cooker Chicken Tacos


 I would say I made this yesterday, but I only threw it in the Crock Pot yesterday. I think it came out well. Dave said it needed more flavor. We often disagree on this, but he loves to eat everything with hot sauce etc while I like to eat my food pretty plain.

Ingredients:
3 lbs boneless, skinless chicken breasts
1 bottle marinade (I used a smoky marinade from Target)
1 12 oz can diced tomatoes
1 12 oz can black beans

1. Marinate the chicken in the marinade. I did it for about 2 days in a gallon size zip lock bag, but it probably doesn't need that long.

2. Dump the chicken, including the extra marinade, into the Crock Pot. Add the tomatoes and black beans.

3. Cook on low for 4-5 hours.

4. Serve with taco shells and your favorite toppings!

Ok, that said, this makes way more than one meal's worth. That container you see above is the left overs from last night and we ate like 6-7 tacos. I'd say it makes at least 15 servings. I plan on using the left overs for tacos or burritos for lunch today.

Friday, May 6, 2011

In The Kitchen-Almost Vegetarian Chili

Stater Bros has both diced tomatoes and canned beans on sale this week for $0.75 each and my mind went straight to CHILI! So here's my ALMOST vegetarian chili. It's heavy on the tomatoes/beans and light on the ground beef. I can't get away with vegetarian chili, so this is the best I can do.

Ingredients:
3-4 cans of beans, drained (most common type is kidney, but today I put in kidney, black and pinto)
2-3 cans diced tomatoes
2 small or 1 large can tomato sauce
1/2 lb. ground beef
2 Tbsp. Chili powder
1/2 tsp. red pepper/cayenne pepper
1/2 tsp. onion powder (optional)

Crock pot version:

1. Brown the ground beef on the stove top. For me, it took less than 5 minutes, but your stove may vary.

2. Dump everything into your crock pot and stir it together.

3. Cook on low for 6-8 hours or high for 4-5.

Stove top version:

1. Brown the ground beef.

2. Dump everything into a large pot and stir together.

3. Cook on medium to medium high heat until boiling.

4. Once boiling, turn the heat to low and cook for 1 hour, stirring occasionally.

If you are looking for toppings, cheese is on sale at Stater Bros as well!
Photobucket

Monday, April 25, 2011

In The Kitchen-Enchiladas

Honestly, one of my favorite meals with some awesome variations I've recently found. Since we're having this for dinner tonight, I thought I'd share.

Special Notes:

1. You can use already cooked chicken or ground beef if you prefer. It cuts down on cooking time

2. The recipe and pictures call for chicken, because that's how I make it most often.

3. If you use the Philadelphia Cooking Creme, the sauce will be thicker, but it's still just as amazing!

Ingredients:

2 lbs boneless, skinless chicken breasts, cut into 1 inch cubes OR 1 lb ground beef
1 15-oz can of cream of chicken soup (you can substitute cream of mushroom if that's what you have)
1 8-oz can of green chilis
1 packet taco seasoning
8 to 12 oz sour cream OR Philadelphia Cooking Creme (original or Sante Fe. If you use Sante Fe, DON'T add the taco seasoning!)
8 to 12 flour tortillas
2 to 4 cups cheddar cheese


1. Turn the oven to 375. Because the first rule of baking: preheat the oven!


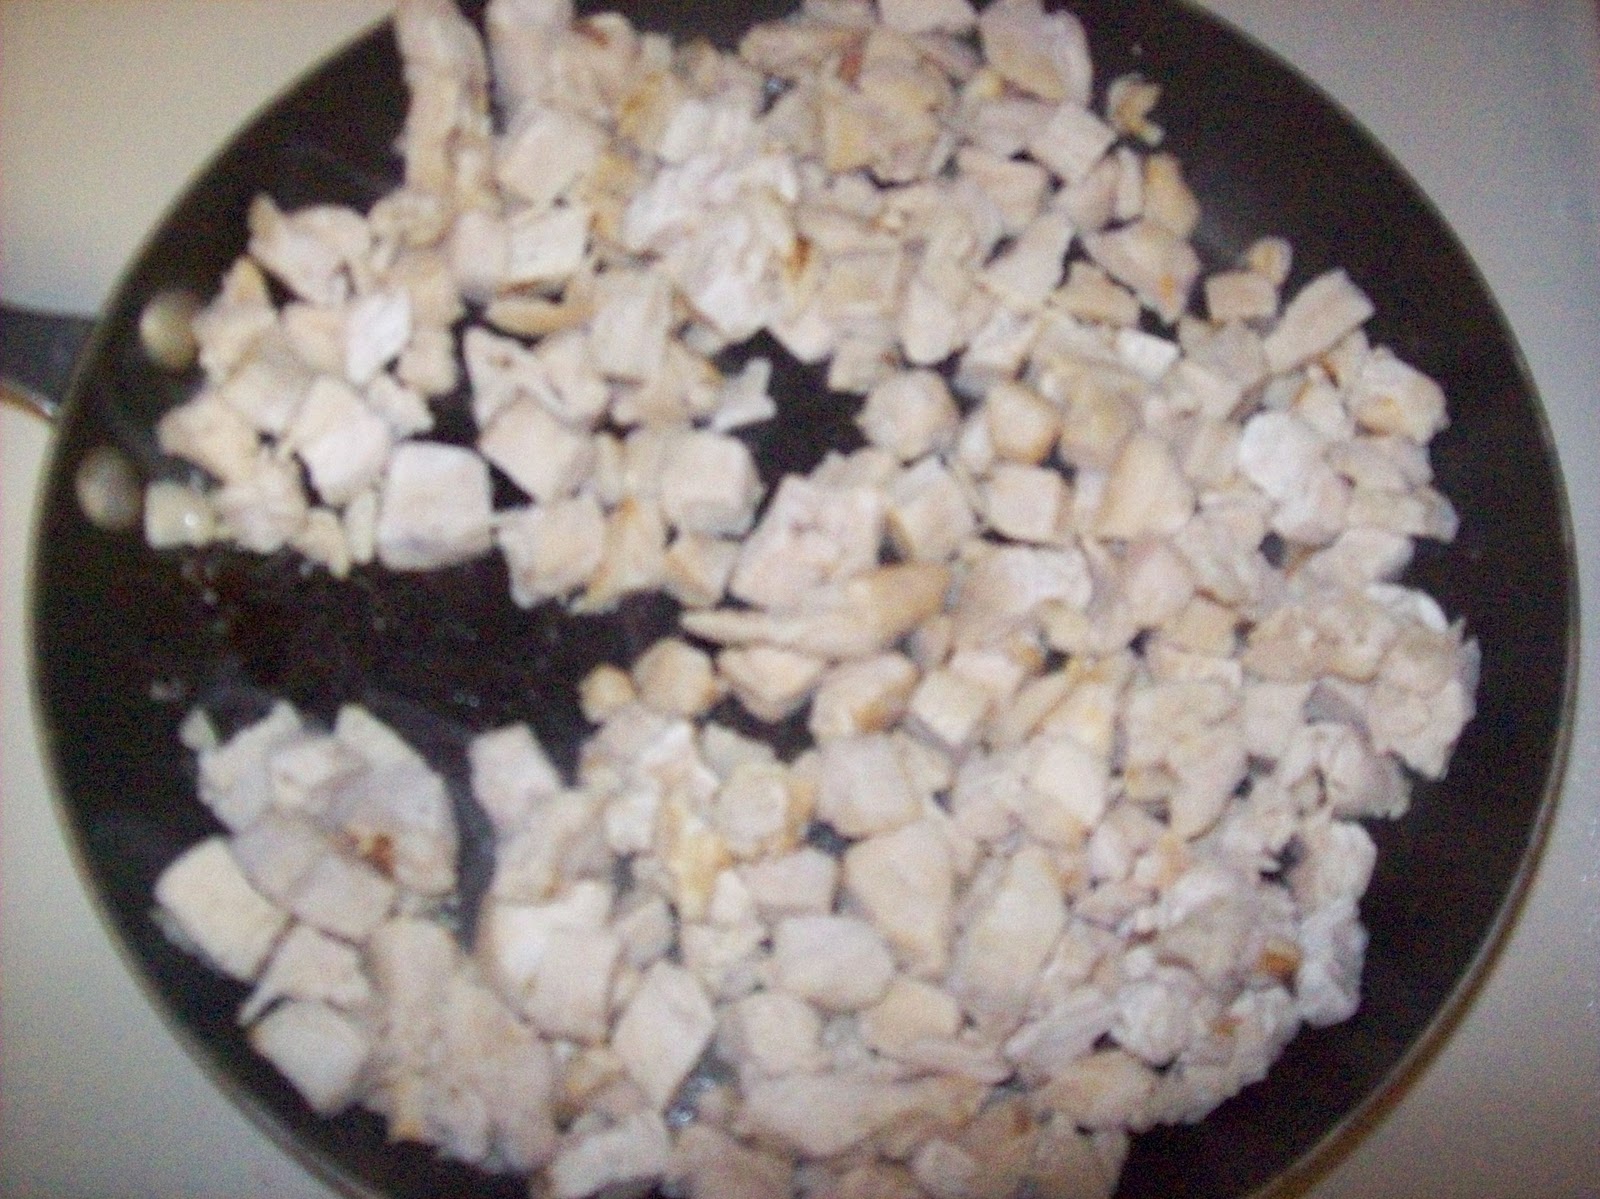
2. In a skillet, thoroughly cook the chicken. I had it easy tonight, I went to buy boneless, skinless chicken breasts (because it was on sale) and found that the store only had frozen pre-cooked cubed grilled chicken (at the same price). This saved me the step of chopping and of defrosting the chicken. You can use either if you prefer, but usually its cheaper to buy boneless, skinless chicken breasts and cut them up.


3. At the same time, combine the cream of chicken soup and green chilis in a pot and heat it through, stirring occasionally. Sorry the picture is bad, but I promise, it's just those two ingredients. They don't look so hot in real life either.


4. Once the chicken is cooked, add the taco seasoning along with about 2/3 to 1 cup of water. Mix it together and let it cook until the water has cooked off.


5. Once the cream of chicken soup and green chilis have heated through, add the sour cream. I usually put between 1/2 to 3/4 of a 16 oz container of sour cream. Mix well and heat it up, stirring ocassionally.


6. Once the chicken is completely cooked, put a small amount onto a flour tortilla. A note about tortillas. If you refrigerate your tortillas (and you should if you want to keep them fresh), then microwave them for a few seconds (30 seconds each side when you do 12) to soften them back up. Add some of the cheese to each tortilla as well and roll it up into the burrito (or enchilada, eh?)


7. Roll them up and place them in a 13"x9" pan. Mine usually make 12 to 14, but tonight it only made 10. It usually also takes 2 13"x9" pans.


8. Once cream is cooked completely, it will look thick and be bubbling.


9. Pour the cream all over the enchiladas and add a whole lot more cheese to the top.


10. Bake the whole thing for 20 minutes until the cheese is melted. It may not look great, but it sure does taste good. We all eat seconds, except Sunshine. This is another meal she simply doesn't eat. No explaining her.

Friday, April 1, 2011

Dinner Disaster

I admit it. I have a dinner disaster at least once every two weeks. Sometimes more often. I bake incredibly well, but I completely suck at "cooking". I have a handful of recipes I make wonderfully but almost every time I try something new, it takes a couple tries. I've even caught my kitchen on fire a couple times.

Tonight we had a dinner disaster. It happened in what is often labeled the busy cook's best friend, the crockpot. My roast is more like falling apart meat with mushroom soup. I'm not sure where I went wrong either. So we eat out.

To help me commiserate, tell me your biggest kitchen disaster.

Wednesday, March 30, 2011

In The Kitchen-Macaroni & Cheese

First, I apologize this is up late. I've been a bit busy today and this is my first chance to sit down.

Second, hello to all the visitors from Christian Clippers. I hope you enjoy the site.

Finally, here's today's recipe. It's my own, although I originally published it on A Year of Baking. Enjoy!

It will take you about an hour or so to make this, so plan ahead.

Ingredients:
3 cups milk
A whole lot of water (enough to fill a large pot 3/4 the way full)
Pinch of salt (optional)
4-8 slices of bacon (turkey bacon can be substituted) (optional)
16 oz macaroni noodles
4 Tablespoons butter
3 1/2 Tablespoons all purpose flour
3 cups cheese (cheddar is the most common, but you can use most any cheese here. We use a cheddar/jack combo)
3/4 cup bread crumbs
Cooking Spray or a little more butter

First things first. Turn your oven on to 350 degrees so that while you start making it, your oven will preheat.

Fill your large pot 3/4 the way full with water and add a pinch of salt, if you're using it. Put it on the stove and get it up to a boil.

As the water does it's thing, pour the milk into a small pot and turn the heat onto medium-low/medium. Allow it to heat up. For me, it take about 10 to 15 minutes, but your stove may vary some. Also put the small or medium skillet on the stove and turn it to medium. Once it's hot, start cooking up your bacon. I used 8 slices of turkey bacon because it was left over from "breakfast for dinner" we had the other night. Once it's cooked, tear the bacon into little pieces or crumble it if well enough done (mine never seems to quite be that well done)

nce the water has come to a boil, add the macaroni noodles and cook according to the package directions. If your package gives a range of time, go with the shorter time. I cooked mine for 9 minutes. Once cooked, drain the water from the noodles.

Once the milk has heated through, remove it from the stove and let it stand in a corner (but don't call it Baby, cause Nobody puts Baby in a corner!). Add the butter to a medium saucepan and melt it on the stove. Once it's melted and looking foamy, add the flour. 

Stir them together until it resembles a brownish/yellowish flour mix.

Add the milk slowly to the butter/flour mixture and stir as you go. Once the milk has been thoroughly incorporated, remove from the heat. Add the cheese a cup at a time, stirring as you add them.

Grease the baking dish with either cooking spray or butter. Dump the noodles into the baking dish and pour the cheese mixture on top. Using the spoon, mix the two together. Add the bread crumbs on top, followed by the bacon.

Place the whole thing into the oven and let it cook for 25 to 30 minutes.

Allow it to cool for about 5 minutes, then serve. This is one meal that everyone, even my incredibly picky eater, will have seconds. It's incredibly creamy and so very good.

Wednesday, March 23, 2011

In The Kitchen-Chicken: 1 Bird, Many Dishes

Since both Albertsons and Stater Bros have whole chicken on a good price this week, I thought I'd show you an awesome way to get lots of meals out of a single 4 to 5 lb chicken. No, I'm not kidding.

Roast Chicken


Ingredients:

1 whole Chicken, thawed

Salt

Pepper

Rosemary (optional)

Thyme (optional)


Remove the gizzard and neck from the inside of the chicken and throw them away (if there). Pat dry the chicken with a paper towel and season with salt and pepper. If you want more flavors, add other seasonings like rosemary and thyme, but I don't recommend it since you will use the roast chicken for multiple meals. If you are making stuffing and want to cook it in your bird, add it now.


Put the chicken in a roasting pan or baking sheet lined with aluminum foil (if like me, you don't have a roasting pan). Roast in the oven for 350 degrees. The time will vary according to the size of your chicken. Cook your chicken for 20 minutes per lb of bird PLUS an additional 15 minutes. So for a 5 lb. chicken, cook it 115 minutes (or 1 hour and 55 minutes). If you add stuffing, add an additional 15 minutes beyond your original calculation (a 5 lb. chicken with stuffing should cook for 130 minutes or 2 hours and 10 minutes). To see if it's done, stick a meat thermometer into the high, not touching the bone. It should read 165 degrees F or above. Mine was nearly at 180 when I pulled it out.


Once the chicken has cooked, let it cool for a few minutes then serve!


The next step is the icky gross but worth it part. Once you've served your family and eaten, don't throw away the leftovers! Instead, take any leftover chicken you have and tear into pieces. Remove any chicken left on the bone; keeping the bones in a separate bag (I use a plastic grocery bag for this). Toss any extras like skin or fat in the trash. Put the leftover chicken in an airtight container and freeze or refrigerate if you will use it in the next 2 to 3 days.


With the leftover chicken, you have all sorts of meals! Personally, I use it in chicken enchiladas, chicken soup, chicken tacos and chicken casseroles. Anytime you need diced chicken that's already cooked, you have it done! Add what you need and save yourself a lot of time & effort of cutting and cooking chicken! Side Note: You can add seasoning to the cooked chicken by adding the seasoning, cooked chicken and about ¾ cup water in a skillet. Turn the stove on medium and let the water boil down, stirring occasionally. You'll have seasoned chicken in no time!


You should still have the bag of chicken bones. DON'T THROW IT OUT YET! Instead, throw it into a large pot and cover them with water. Bring the water to a boil, cover and turn the stove to medium-low. Let the chicken bones simmer in the water for about an hour to an hour and a half. Voila! You have chicken broth or stock!

Toss the bones in the trash and allow the broth to cool. Once cool, store in an airtight container and freeze or refrigerate. One awesome thing you can do is pour it into ice trays and freeze it. Once frozen, remove the cubes and store in a freezer bag. This will give you premeasured chicken stock for your various recipes, since a cube is about 2 tablespoons of chicken broth. All you'll need to do is pull one out of the freezer bag and add it to your recipe!


Lots of meals. One chicken. Totally worth it.

Wednesday, March 16, 2011

In The Kitchen-Peppermint Piece Cookies

This week's In The Kitchen recipe actually comes from a blog I ran previously, A Year of Baking. This is a great week to make this, since Albertsons has York Peppermint Pieces on sale as part of their Instant Savings Sale.

Peppermint Piece Cookies

 Ingredients:
1 cup (2 full sticks) butter softened, or alternately 1/2 cup (1 stick) butter and 1/2 cup shortening
3/4 cup granulated sugar
3/4 cup brown sugar, packed
2 eggs
2 cups flour
1/2 teaspoon baking soda
1/4 teaspoon salt
1/2 teaspoon vanilla extract
1/2 teaspoon peppermint extract
1 10oz pack of York Peppermint Patty Pieces (between 1 1/2 to 2 cups)


Turn the oven to 375 degrees.

In one bowl, combine butter, granulated sugar, brown sugar and eggs. It should be pretty well mixed using the electric mixer, you should see no egg or butter once mixed.

In a second bowl, add flour, baking soda and salt. Mix well using the large spoon.

Add the flour mixture into the sugar mixture slowly. Add small parts of the flour then mix using the electric mixer before adding more. Otherwise you end up with flour everywhere!

Add the vanilla extract, peppermint extract and mix using the electric mixer. Add the peppermint pieces and mix in using the spatula.

Put the cookies onto the cookie sheets and bake for 8 minutes. Allow them to cool on the cookie sheet for about 3 minutes before transferring them to a plate or container of some sort.